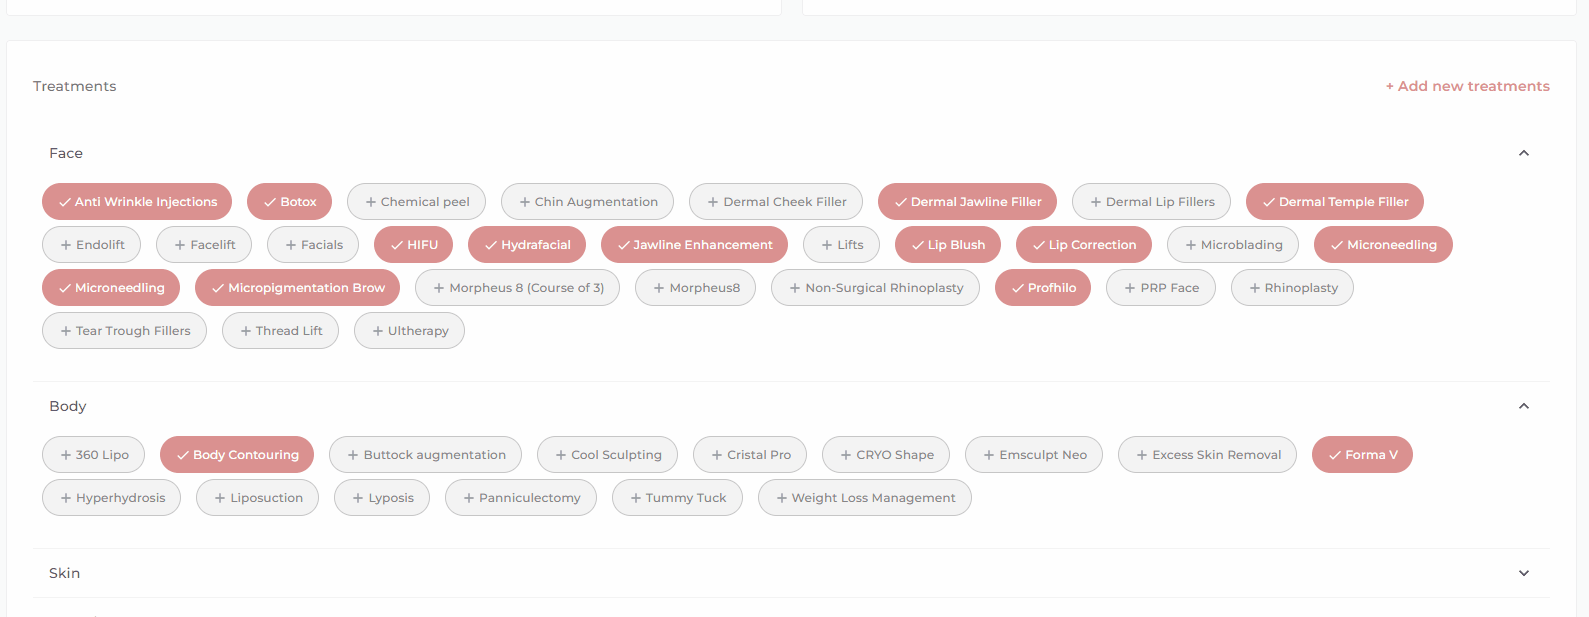
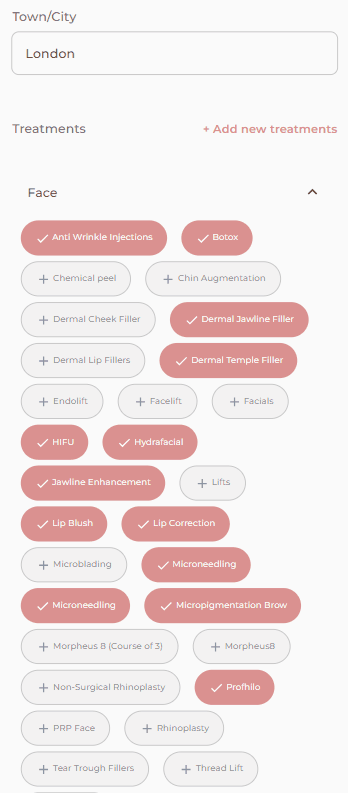
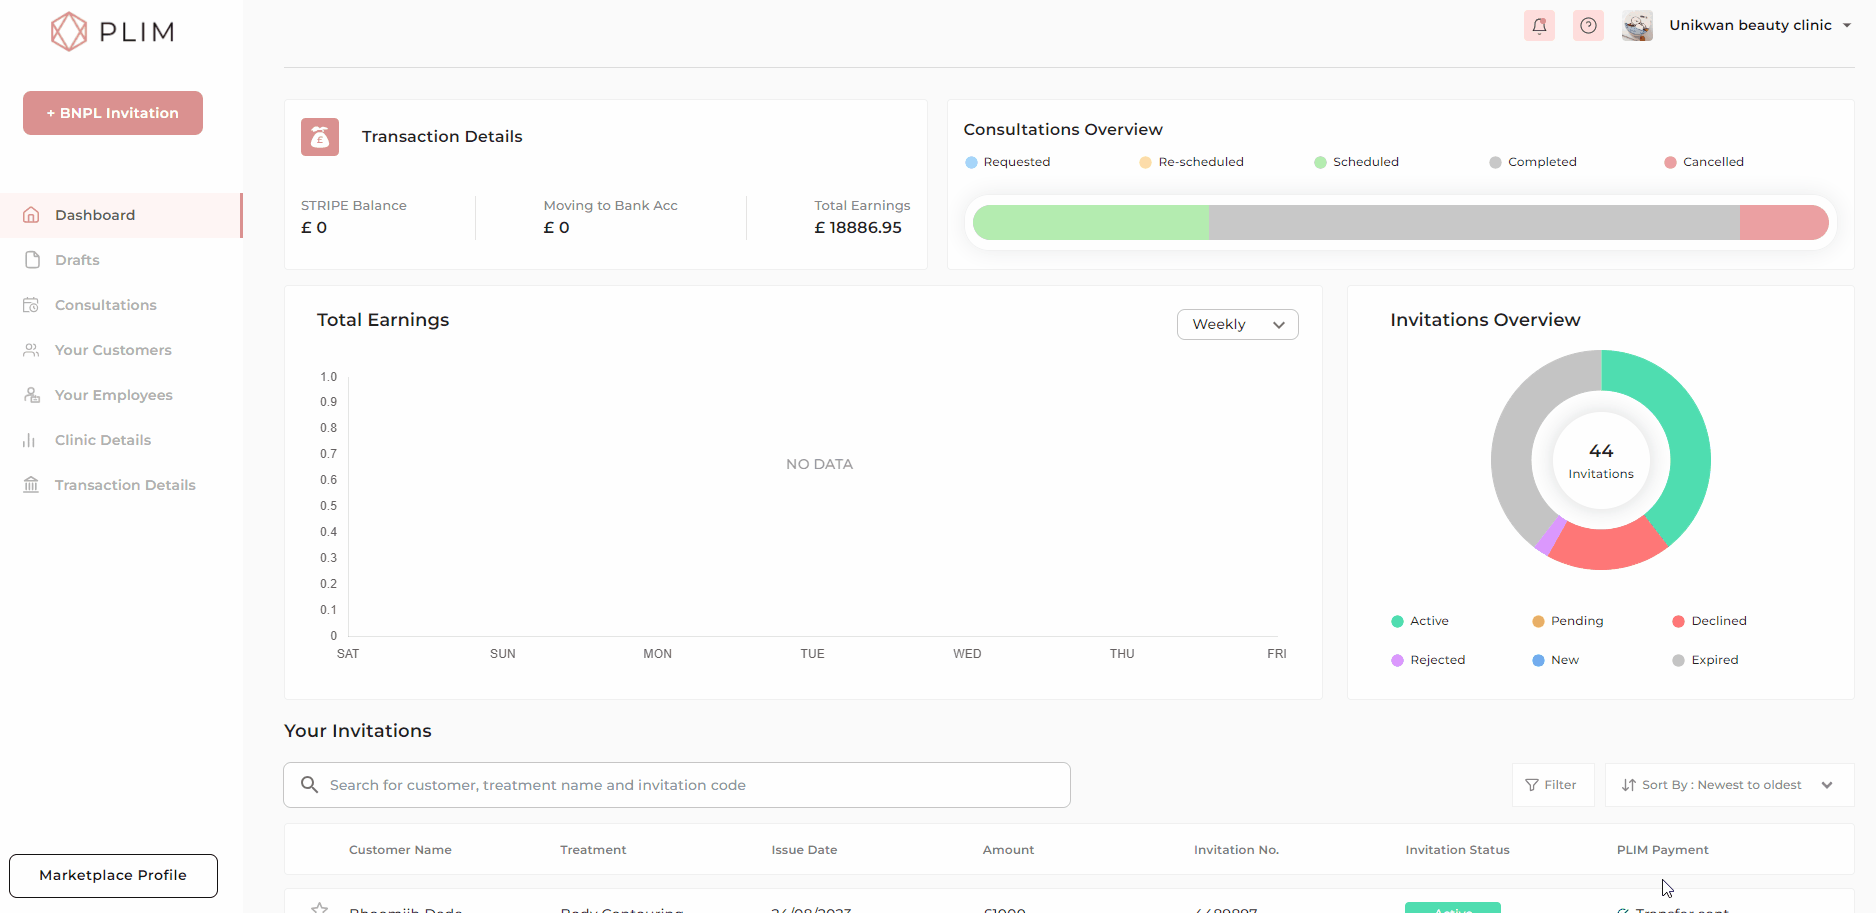
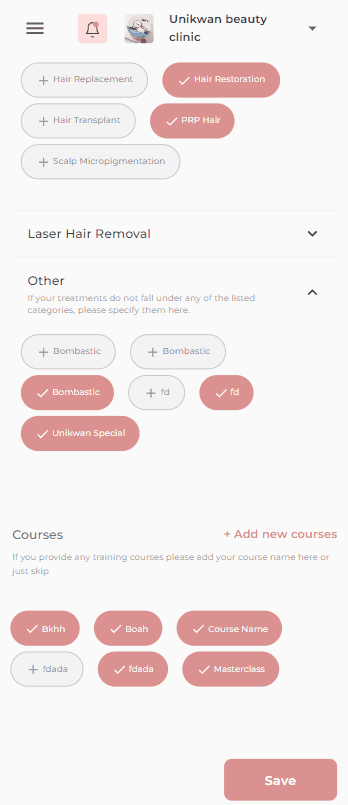
Scroll below the treatment details to find the section for courses. If your clinic offers any courses, click on the "Add Courses" button located at the top right corner of the box.
Add training courses : onboarding & post login
2 Parts
In this section, we will explore how to add a new course or delete an existing one for your clinic. Keeping your course list updated ensures accurate representation on your marketplace account.
Part A : During onboarding
Step 1: Select "Add courses"
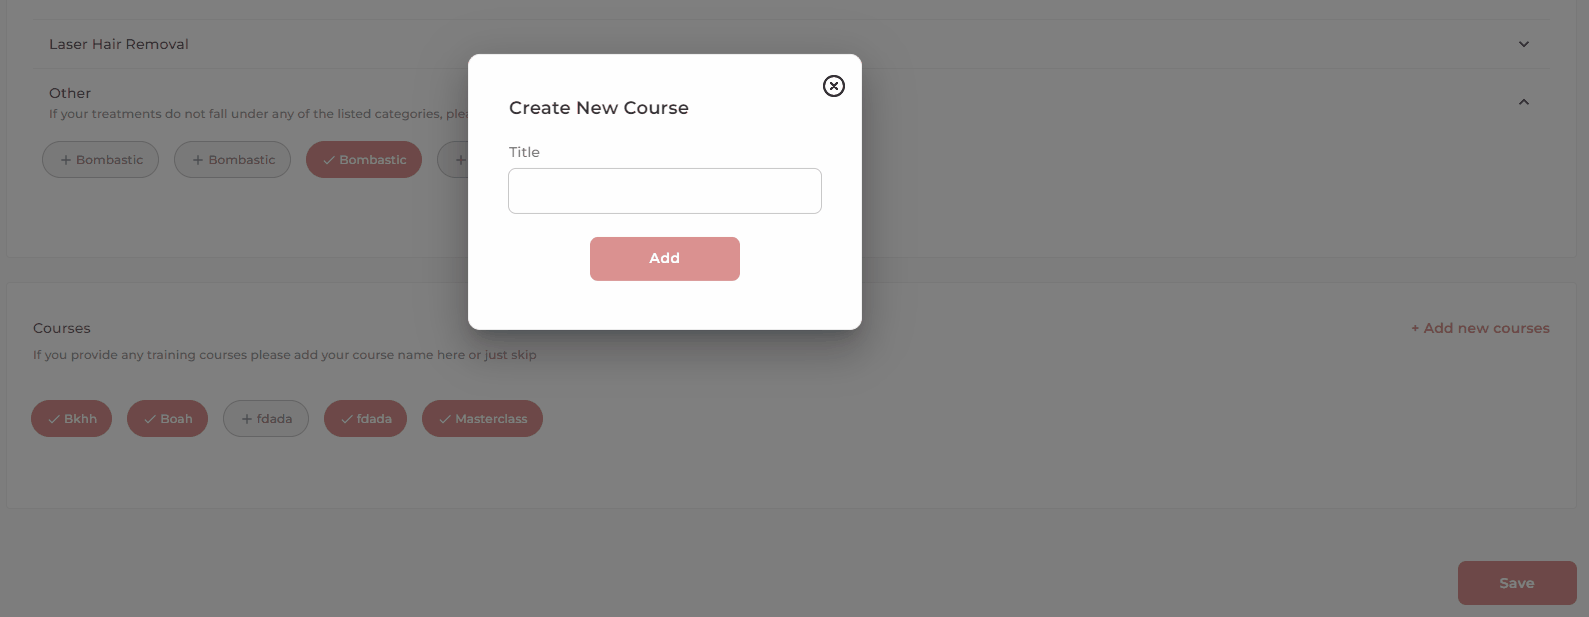
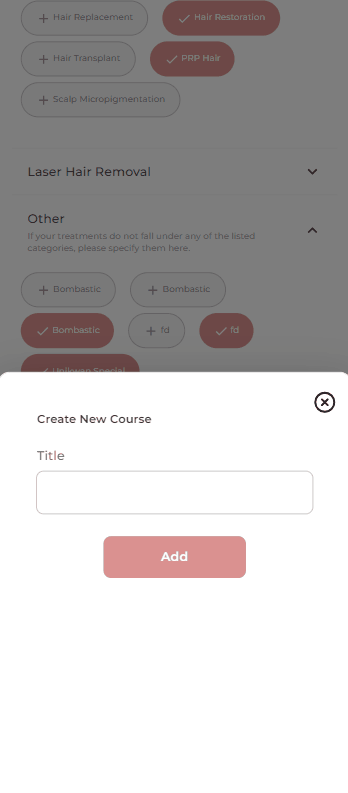
Step 2: Enter Course Name
Upon clicking the "Add Courses" button, a pop-up window will appear, prompting you to enter the course name. Simply type in the course name and click "Add."
Part B : Post Login
Step 1: Accessing Courses Options
To add a new treatment or course, navigate to your clinic details and select "General Details." Scroll down to find the "Courses List" located at the top right corner and follow the same process as above.
Step 2 : Removing or Deleting a Course
If you wish to remove a course from your account, locate the course name and click on the bell icon next to it. A pop-up will appear, offering two options: temporary removal from your account or permanent deletion. Choose the desired option and click "Save" to update your changes, which will be reflected on your marketplace account.

Was it helpful?
Watch tutorial instead

