Click on the "Create BNPL" button on the left panel at the top. You will be directed to a form where you need to enter your customer's first name, last name, email ID, and contact number. Please ensure that you provide valid and accurate data.
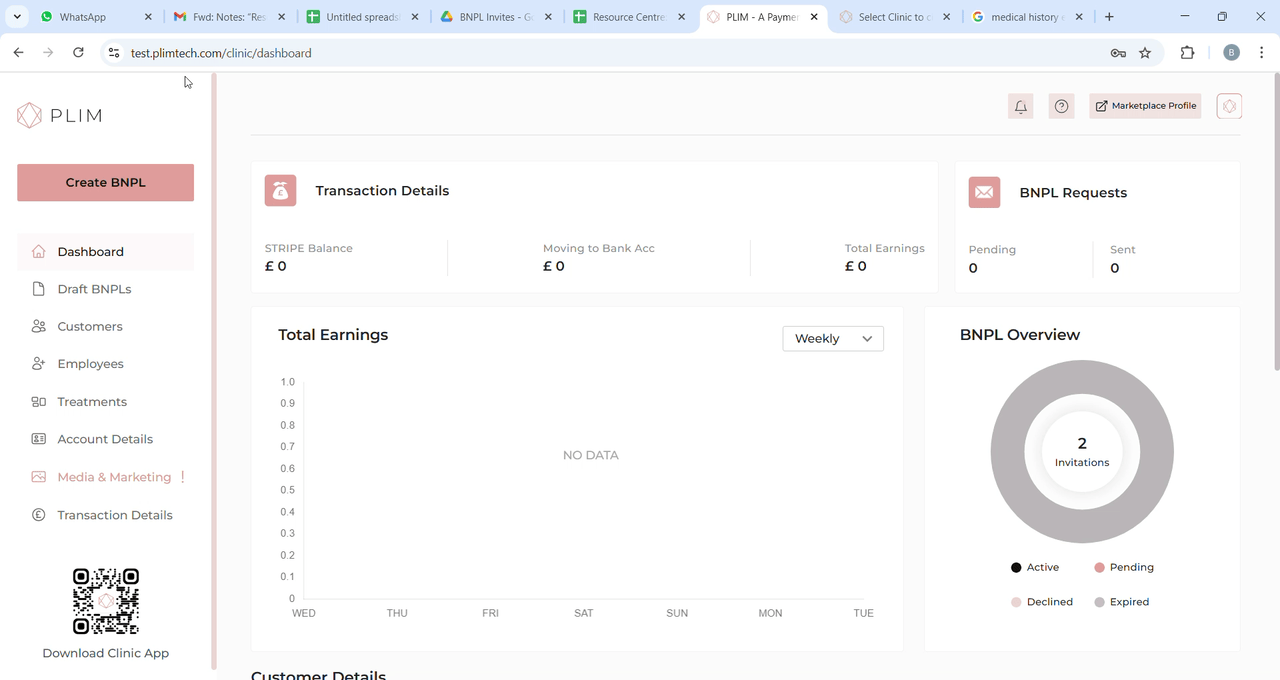
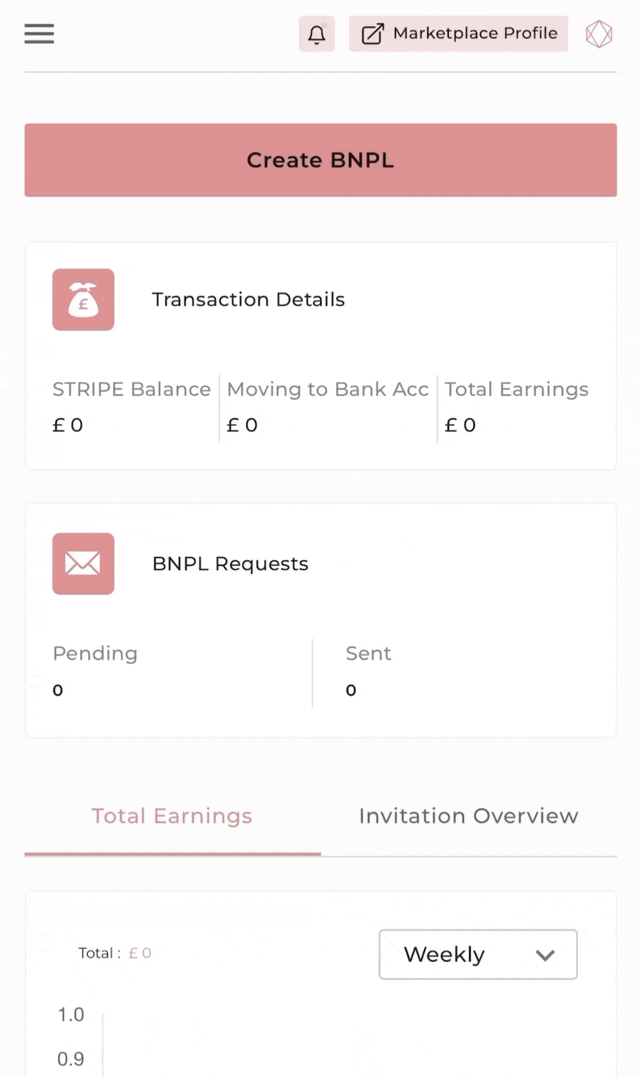
Sending a BNPL
6 Steps
In this article learn how to send out BNPL (Buy Now Pay Later) invitations to your customers and provide them with flexible payment options for their preferred treatments.
Step 1 Add customer details
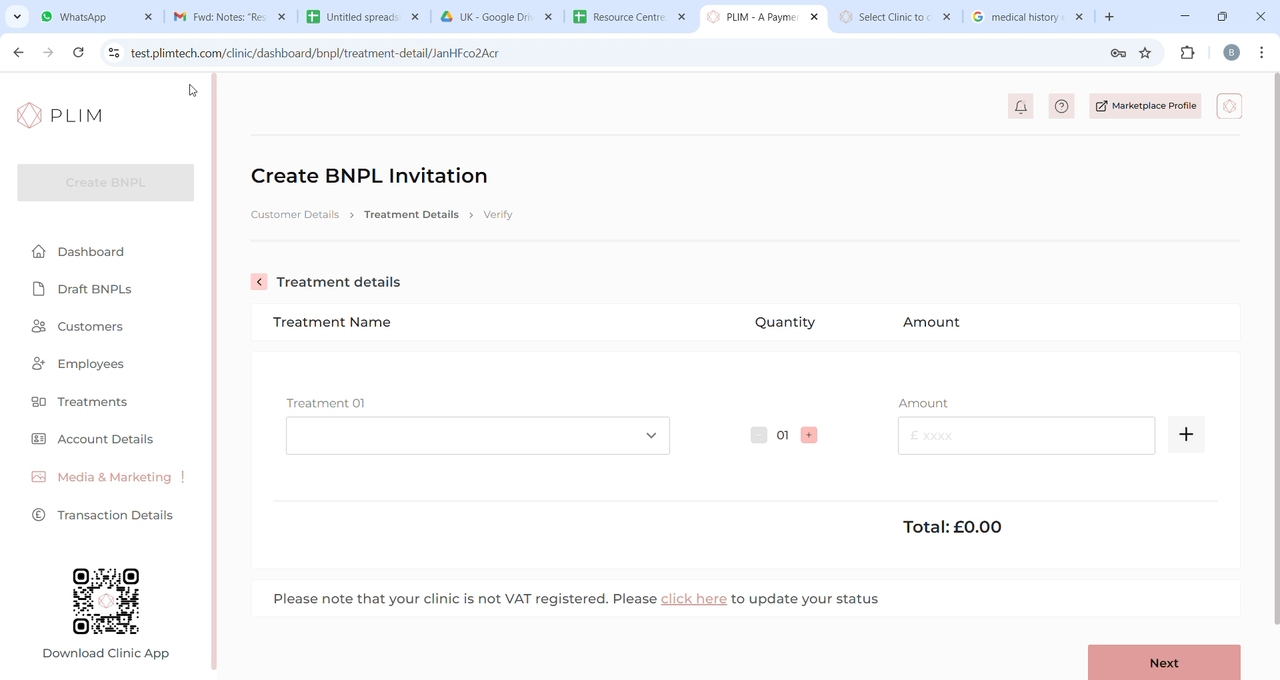
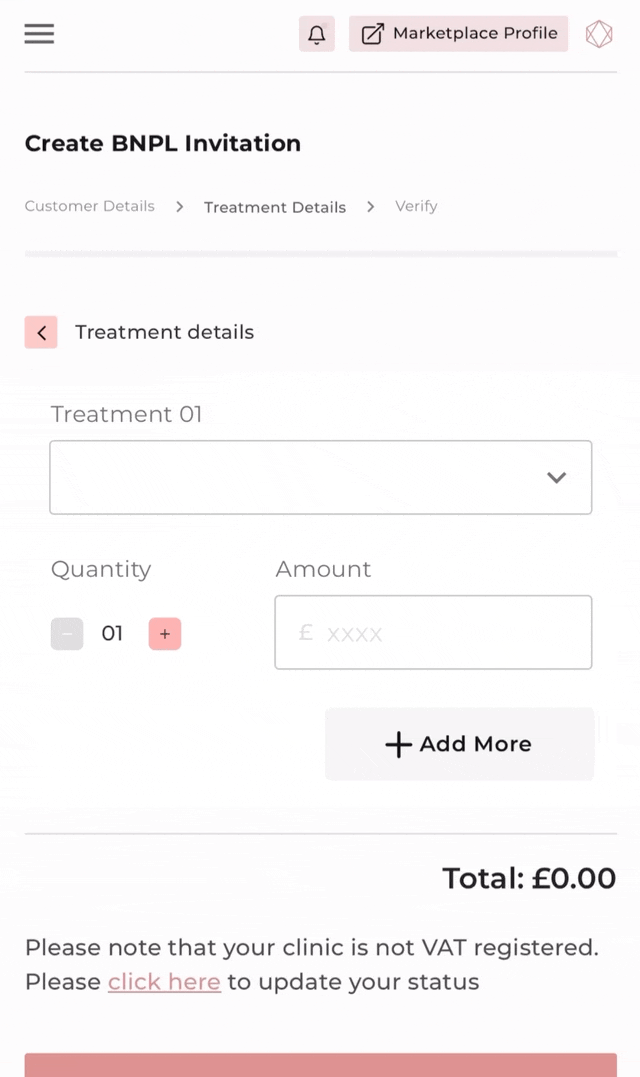
Step 2 Add treatment details
Now, select the treatment for which you are sending the BNPL invitation. Use the drop-down list to choose from existing treatments, or if needed, create a new customised treatment
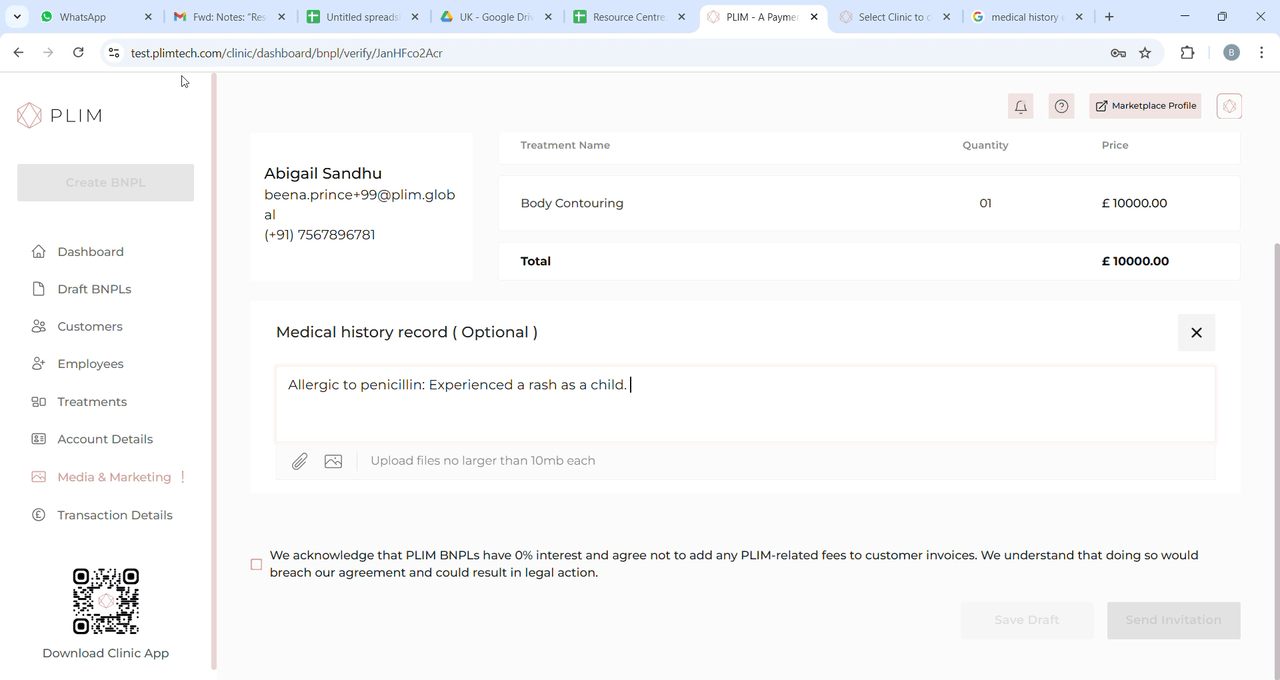
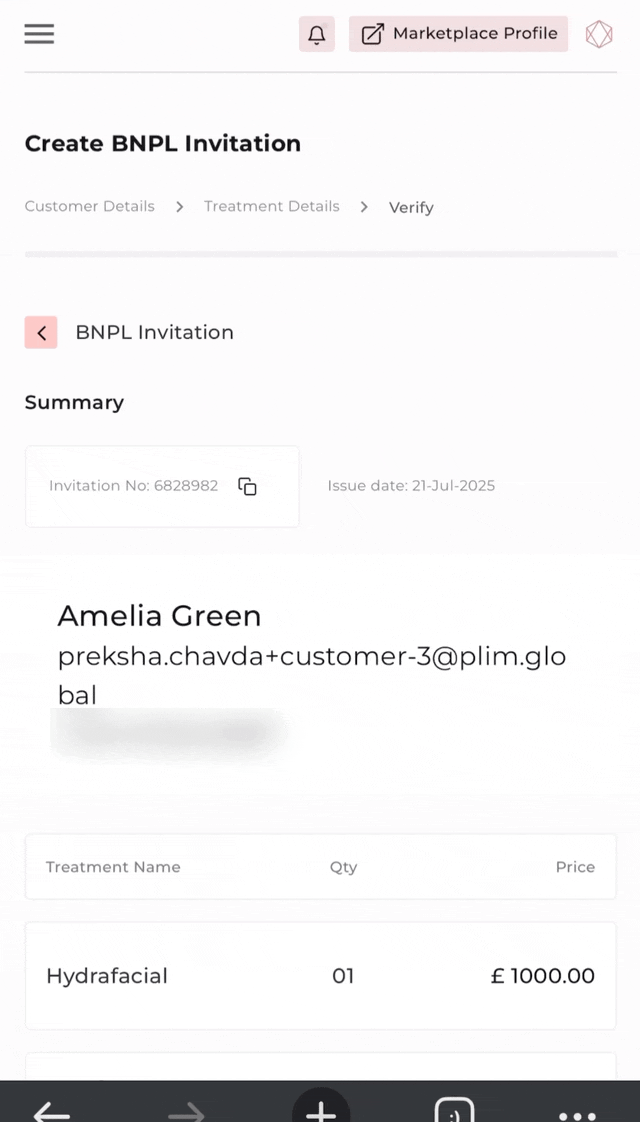
Step 3 Add medical history
Add the customer's medical history for future reference and upload any necessary reports.
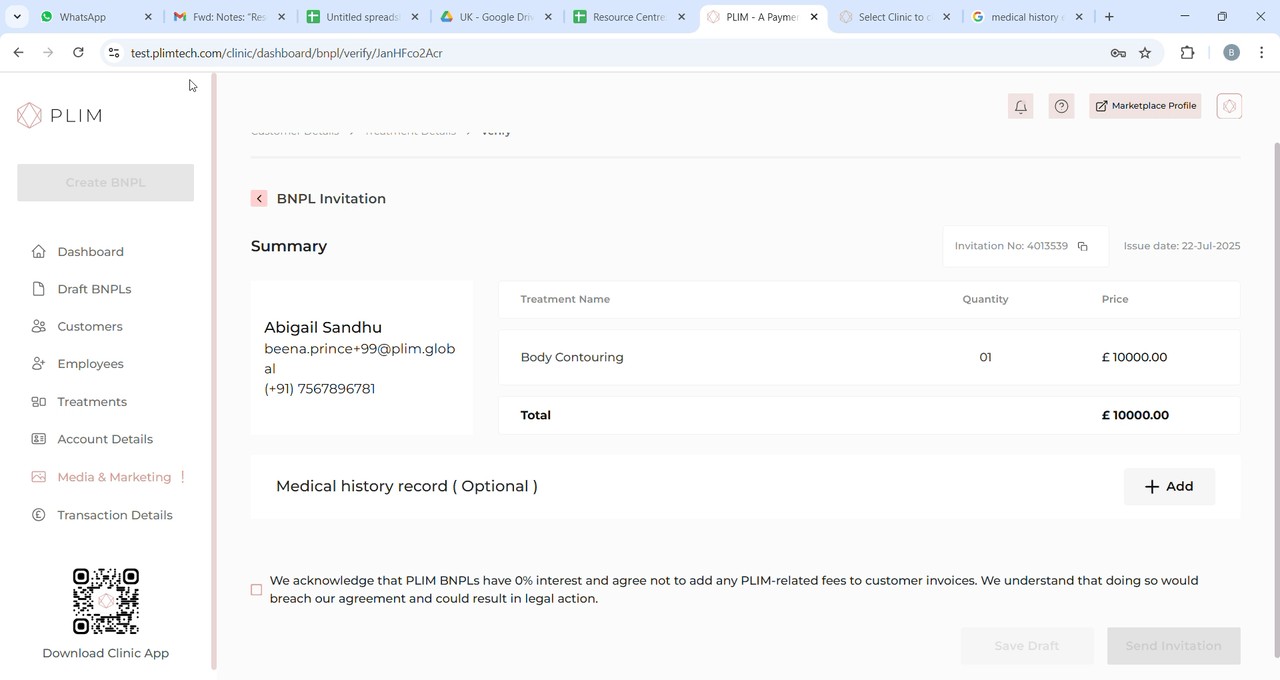
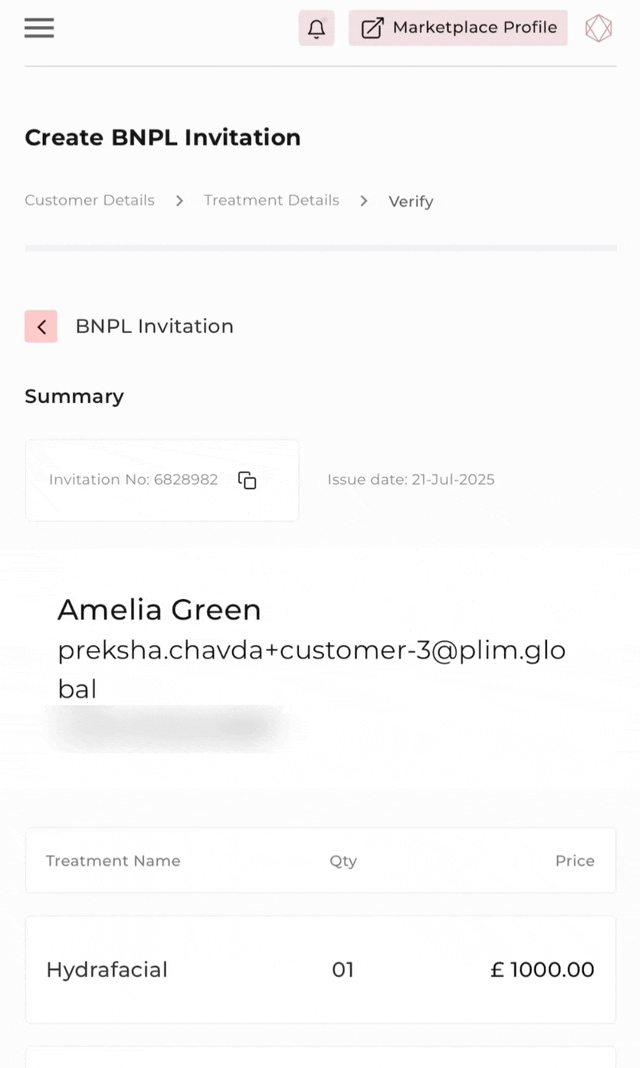
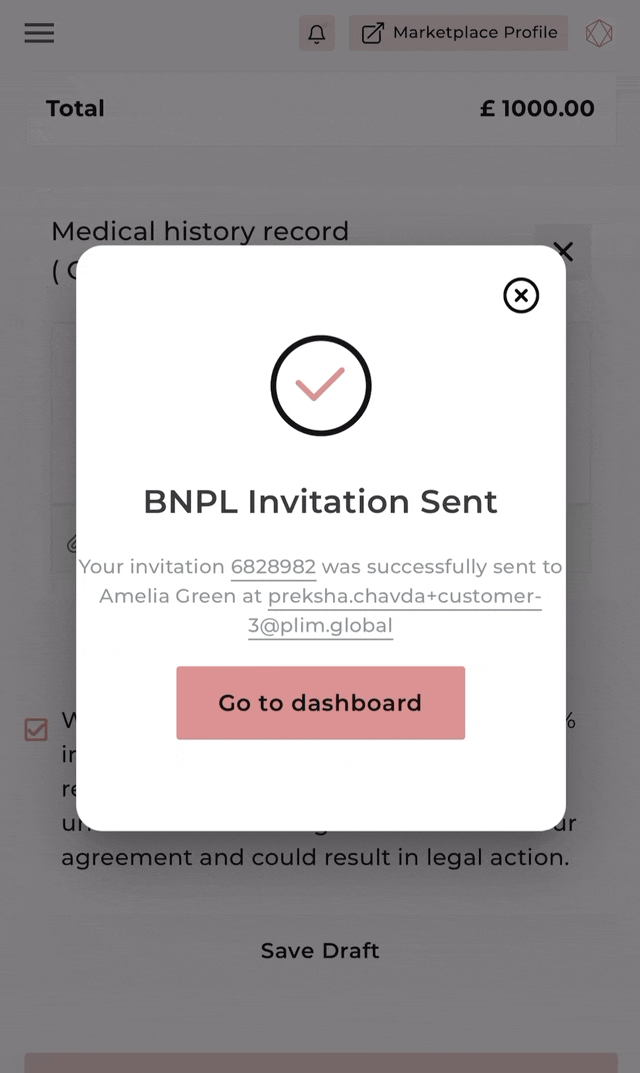
Step 4 Review details and send
Verify the information and then proceed to send the BNPL invitation.
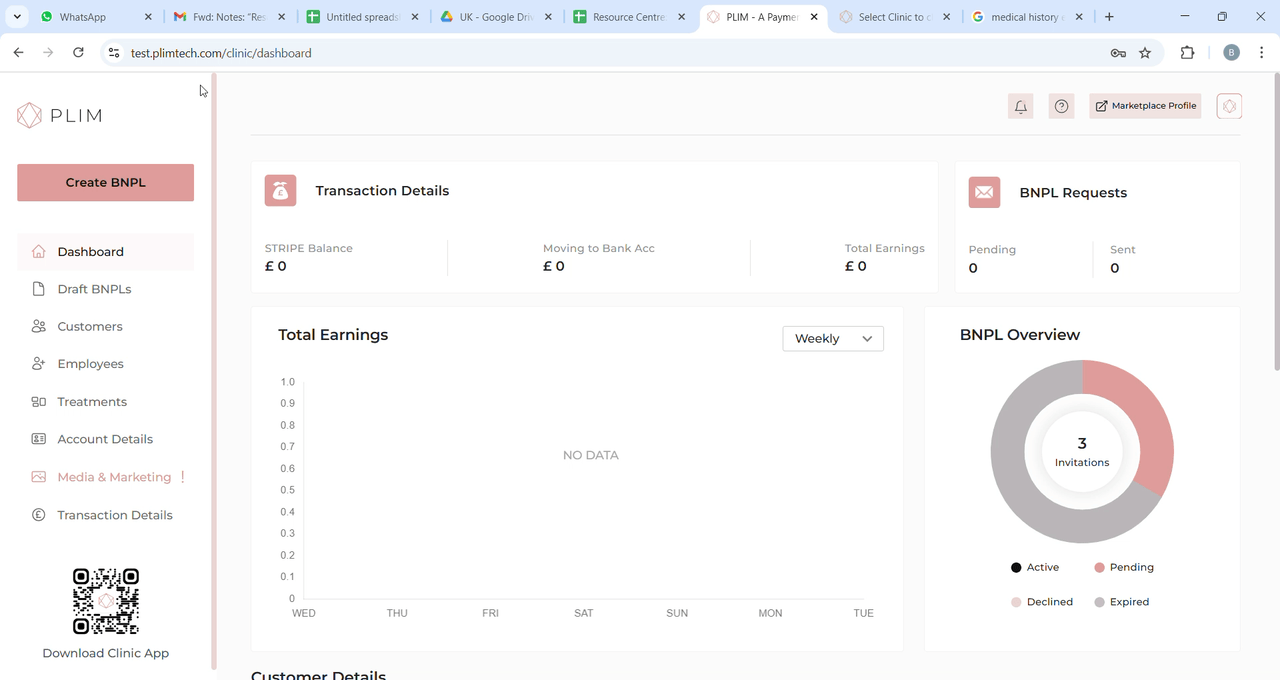
Step 5 Track invite on the dashboard
After sending the BNPL invitation to the customer, you will see all the entered data along with customer and treatment details and remarks on the screen. The status will be marked as "New". Read article " title " tpo knpw more about the statuses
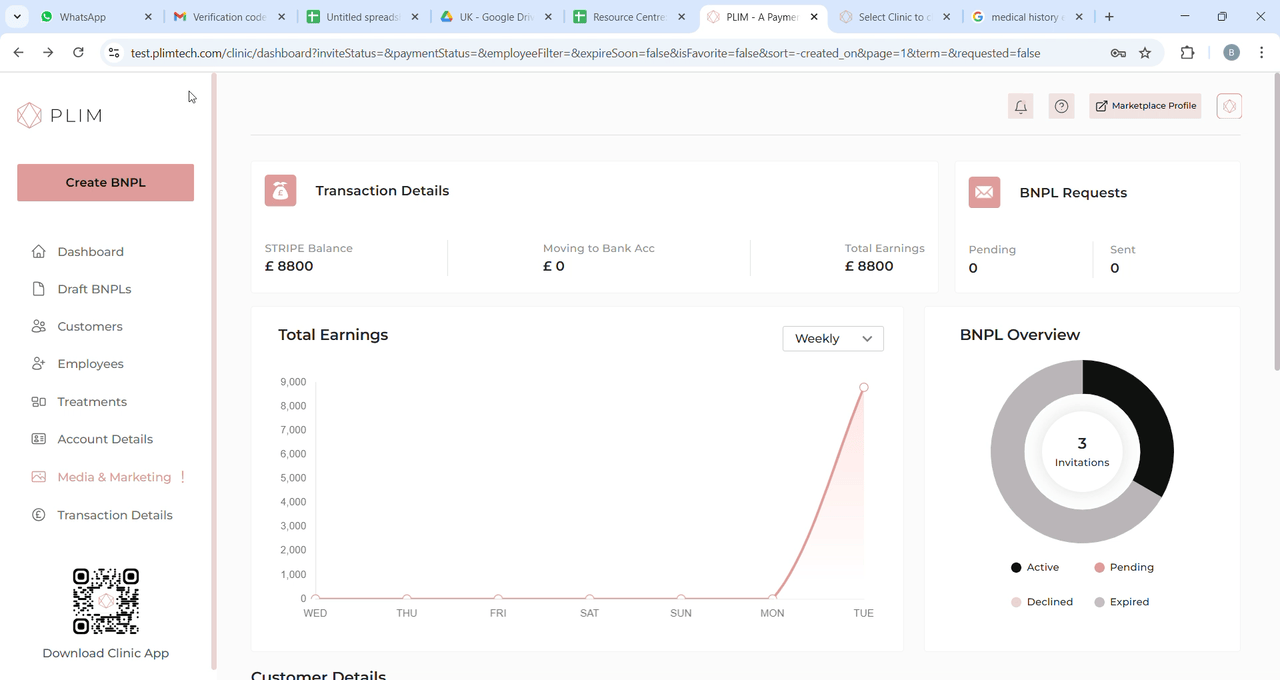
Step 6 Get paid in full
Following the customer's deposit payment, our team will disburse the full payment within 10-12 business days.
Was it helpful?
Watch tutorial instead


Our Financial Partners


